Tuesday, July 17, 2012

Linda's Heart Bargello

These are shots of Linda's queen size Heart Bargello quilt done in rich Civil war reproduction fabrics:
no idea what the white spot in the pic is? Something weird with my camera because  it isn't on the actual quilt.
 It had three borders:
 In the largest border, I did a winding feather all around which really looked lovely. I am still working on having amazing large feathers so this was a nice compromise:
 Still got my feather just on a smaller scale-- all this practice will pay off I think.
I used my rulers and gave the heart portion a chevron pattern across it. 
Thanks Linda for the opportunity to quilt this beauty!

Friday, July 6, 2012

Julie's Sneak Peek!

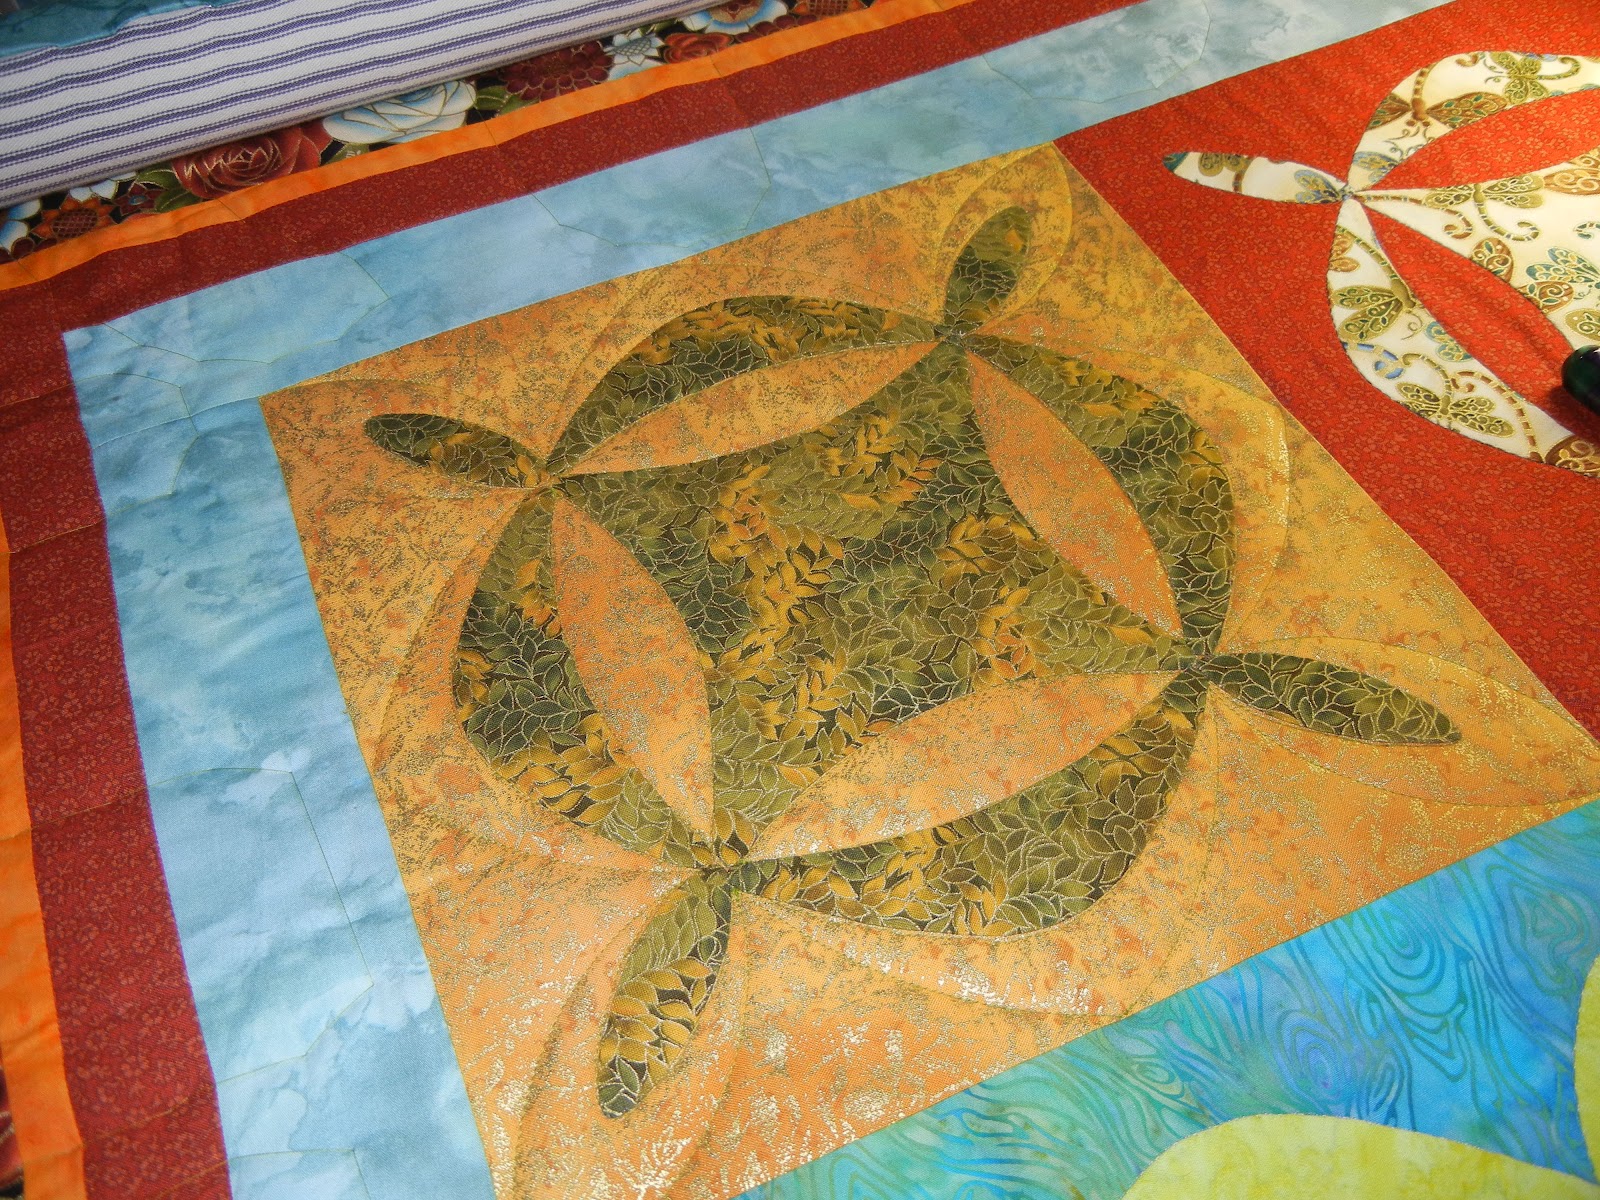
Julie asked me to quilt this little beauty before she left for her summer vacation in a state far cooler than the great state of Texas. She kindly gave me permission to post picks of it before she even gets to see it in person! ( it is on its way there by mail) So Julie here is your sneak peek. I hope you love it, it was fun to quilt!
 Here are shots of before I began- pretty autumn/sunset colors and lots of lovely metallics.
 I outlined each applique shape and then used rulers to make a secondary design around the appliques:
 Here you can see the secondary design starting to take shape but it needed more....
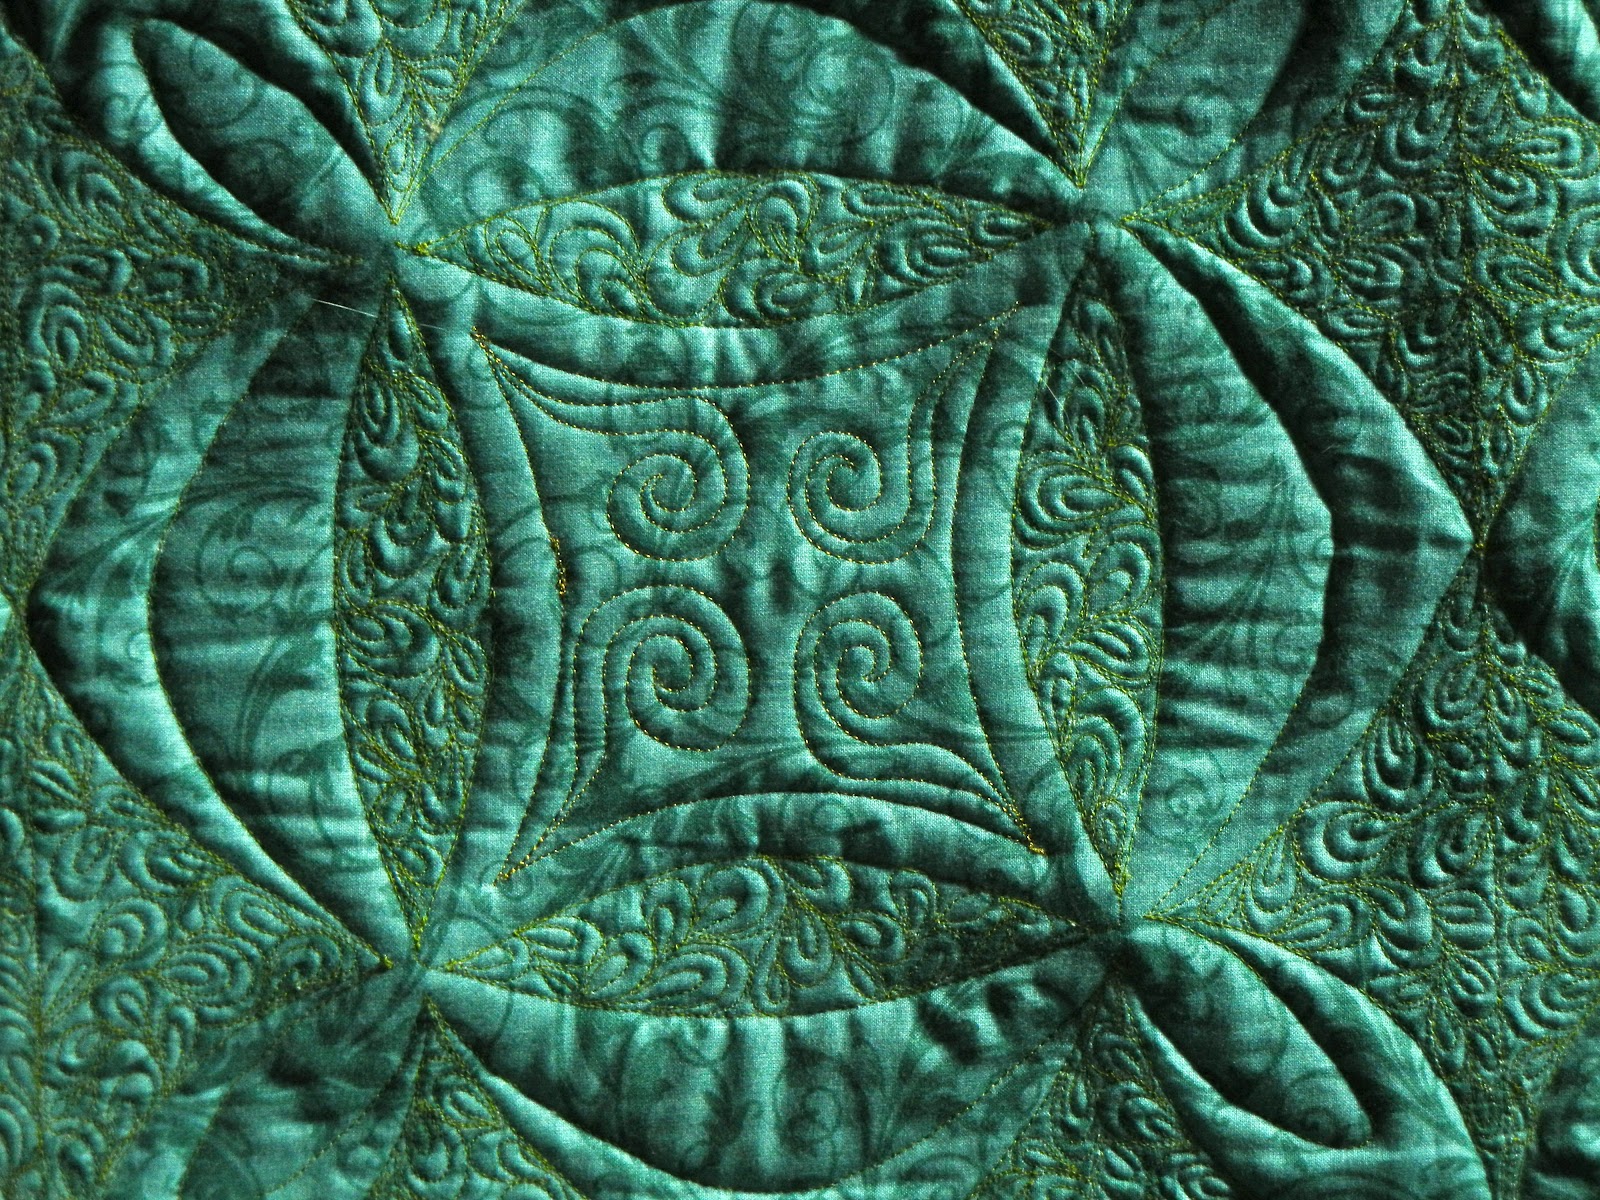
 So I filled in some of the shapes created to get this:
You can see it better on the back side, 
in this shot of a single square: 
 
more detail shots:
 borders:
 borders from the back:
Look at the texture created!
 Wide shots of the front:
Wider shot of the back 
 It sort of reminded me of a cathedral window design. I used a lovely olive green So fine thread on this which seems to look fantastic on nearly every Asian fabric. It looked nice on the light teal backing too- giving some contrast but nothing too eye catching.

Thank you Julie for giving me a chance to quilt for you!
 I hope you love the quilt and enjoy it for years to come.


Thursday, June 28, 2012

Almost a month!

I have been super busy with this kid:
Who has been swimming up a storm! He has had a great season, made some great friends and had a lot of fun. So glad he found something he loves.
In my non-pool hours:
I am trying to finish up a customer's quilt before I go on retreat next week and making samples etc... pictures to follow!

Friday, June 8, 2012

Happy H"owl"-o-ween Wallhanging

Ingredients: 
1 Happy H"owl"-o-ween Charm pack
1 Happy H"owl"-o-ween Panel
1/2 purple stars from Happy H"owl"-o-ween line(19956-17) for inner border and binding
3/4 yard Bella 99 (black)
1 yard backing
1-Lil' Twister Tool by CS Designs
Basic Sewing supplies / all seam allowances 1/4"
Start by picking one side of the panel to feature in your wallhanging and cut it to measure: 
17.5"x 22.5"centering design
 Next cut 3 strips of the purple stars 1.5"x WOF. Cut one in half so you have four pieces as shown to go around your panel:
Sew them in place top and bottom first then the sides:
 Your panel should now measure 21.5"x24.5"
Constructing the Twister Frame:
First arrange your charm pack 10 across the top and bottom and 11 down the sides - distributing the colors  however you prefer, here is my arrangement:
(you will use all but four squares from the charm pack) 
Next you will sew together squares across the top and bottom BUT do not sew four the corner squares! 
Start with the second square on the top and sew them each to their neighboring square over to the last one, which is the corner.  Repeat with the bottom (again leave the corners for now)
Here is what I ended up with:
Now cut 2 strips of black fabric to measure 5"x 36".
Sew these as shown- one under the top row and one on top of the bottom row you just created.
 Now starting in the upper left corner sew that corner square to the square just beneath it and repeat this for the upper right corner:
 Take the bottom left corner and sew it to the square just above it, repeat for the lower right corner
Next sew these units to their corresponding ends as shown completing your top and bottom rows. 
Sew your side columns of squares:sewing each square to their neighboring square creating two strips with 7 squares each.
 Next cut 2 strips of black fabric measuring 5"x 31.5". Sew one black strip to the right side of the left column and sew the second one to the left side of the right column. ( note the black frame we are creating within the squares)
 Sew the side columns to the top strip and the bottom strip as shown to complete the inner frame:
 Cut six strips of black fabric 3" x WOF. Sub cut two in half and apply one of them to each of the remaining 4 whole strips. 
Measure and cute two strips to be 3"x 49" and
two strips to be 3"x 49.75".
Sew to the 49" strips to the top and bottom:
 And sew the 49.75" strips to each side: 
Note the frame is currently way to big for the panel but we are ready to do the Twist!
Align the Lil' Twister lines to the lines of fabric intersecting on your quilt as show above.  Using your rotary cutter, carefully cut around the shape leaving this: 
Move down the strip continuing to cut squares down the line at each intersection:
Here are the missing squares from above forming our twisted border: 
 Keep your new "Twisted" squares in order placing them around the panel as shown. Once you get to the end go back and do the next row.

 Cut the Twisted sqaures down each side as well.
 Until you complete the frame.
Begin sewing the twisted squares top and bottom as shown- skip the first two squares as they will be part of the sides. Sew the seven center pairs as shown upper to lower then side to side:
 Now you can see the Twister border fits perfectly above and below your panel!
Sew the top and bottom onto the panel:
 Then sew together the sides squares and sew add them to the panel!
 All done! 


Sunday, June 3, 2012

Lately

Tommy is on summer league swim team which has a rigorous but fun schedule. 
Here he is backstroking to a second place ribbon!
Can't take credit for the picture, my hubby took this one. 
Tommy is one happy kid being able to swim nearly every day. The team experience is made better by having a fun and encouraging coach, an organized group of energetic people running things, and a nice group of swimmers his age.  The whole experience has been nice and very family oriented, we were so lucky to find all of this so close to home. I see a lot of pools in my future as I think he is going to join the year round team in the fall.

****************************************************

In my "non-pool" hours I have been working on this:

love the giant houndstooth prints!
It is made using Vintage Modern fabric put out by Moda, designed by Bonnie and Camille.  The pattern is Camille's called Hopscotch. I have been waiting months for this line of fabric to come out and I was not disappointed! It is so soft and feminine I loved making the quilt. All it used was as jellyroll and a couple yards of fabric. Now to quilt it....

Saturday, May 26, 2012

My first T-shirt quilt

My daughters friend Austin graduated from high school today. I made him this t-shirt quilt over the last 2 months and actually had it finished to give him on his graduation day. If only all my projects were so timely!
It was an educational process. I have never had a lot of appreciation for T-shirt quilts in all honesty. I get the special, preservation of the memories and all but, they never really "moved" me so, in the making of this one I gained some respect for them and actually found I enjoyed some of the designing aspects much to my surprise.
It worked out well and I can see making another one for each of my children in the future.

Thursday, May 10, 2012

In the works this May...

I have been spending my "free" sewing time working on a T-Shirt quilt for a good friend of my daughter's, who is graduating from high school. He rounded up a good amount of tees but half are black and he really , REALLY wants dark green sashing between the blocks.  I am worried the whole quilt will be too dark so I have decided to put in a few patchwork and applique blocks in to brighten it.  

The receiver is a Violin player ( thus the music fabrics)


Challenging to "brighten" a quilt without making it girly!


I made these three blocks so far with the Lazy and Loving it! book by Joan Hawley. After two failed attempts at this block I broke down and read the excellent directions in the book and BAM! perfect block! Why didn't I do that the first time? 
Go figure huh? You can make this block finish at up to 18" using the Lazy angle ruler, this one finishes at 15 which is perfect for coordinating with some of my Tee shirt sizes.
Check out my Ed Emberley owls in the block above! ( some  have graduation caps on!)


I know these are a little childish but with the little caps on I couldn't resist. My hubby and I both noted that these owls look a lot like the ghosts in the old Pac-Man arcade game. Don't they???

I am planning on a block with the year on it for his graduation year but that will be machine appliqued on and he is Jewish and wears a necklace with the Hebrew character for life on it so I am thinking I might put that on a block as well.
Hopefully it will be enjoyed by the graduate in time for graduation!